Showing posts with label DIY. Show all posts

Wednesday, November 9, 2011

DIY cake stands

I'm back to share my mini-tutorial for the cake stands that debuted at the husband's "Yay! You have your MBA!" surprise party this past weekend. Honestly, this project was so easy, I'm not even sure why I'm sharing the deets. But for the 3 of you who are interested....you're welcome.

I found these fabulous ikat plates at HomeGoods. They were so fabulous that the lovely sales girl almost convinced me to buy the whole set. And then I realized bringing home an entire set of plates "just because they're cute!" probably wouldn't go over so well with the husband. Anyhoo! Moving along.


The next step was thrifting for the bases, which ultimately turned up nothing. So I went with these large candle holders from HomeGoods (I loved that they were substantial enough to hold their own against the plates).


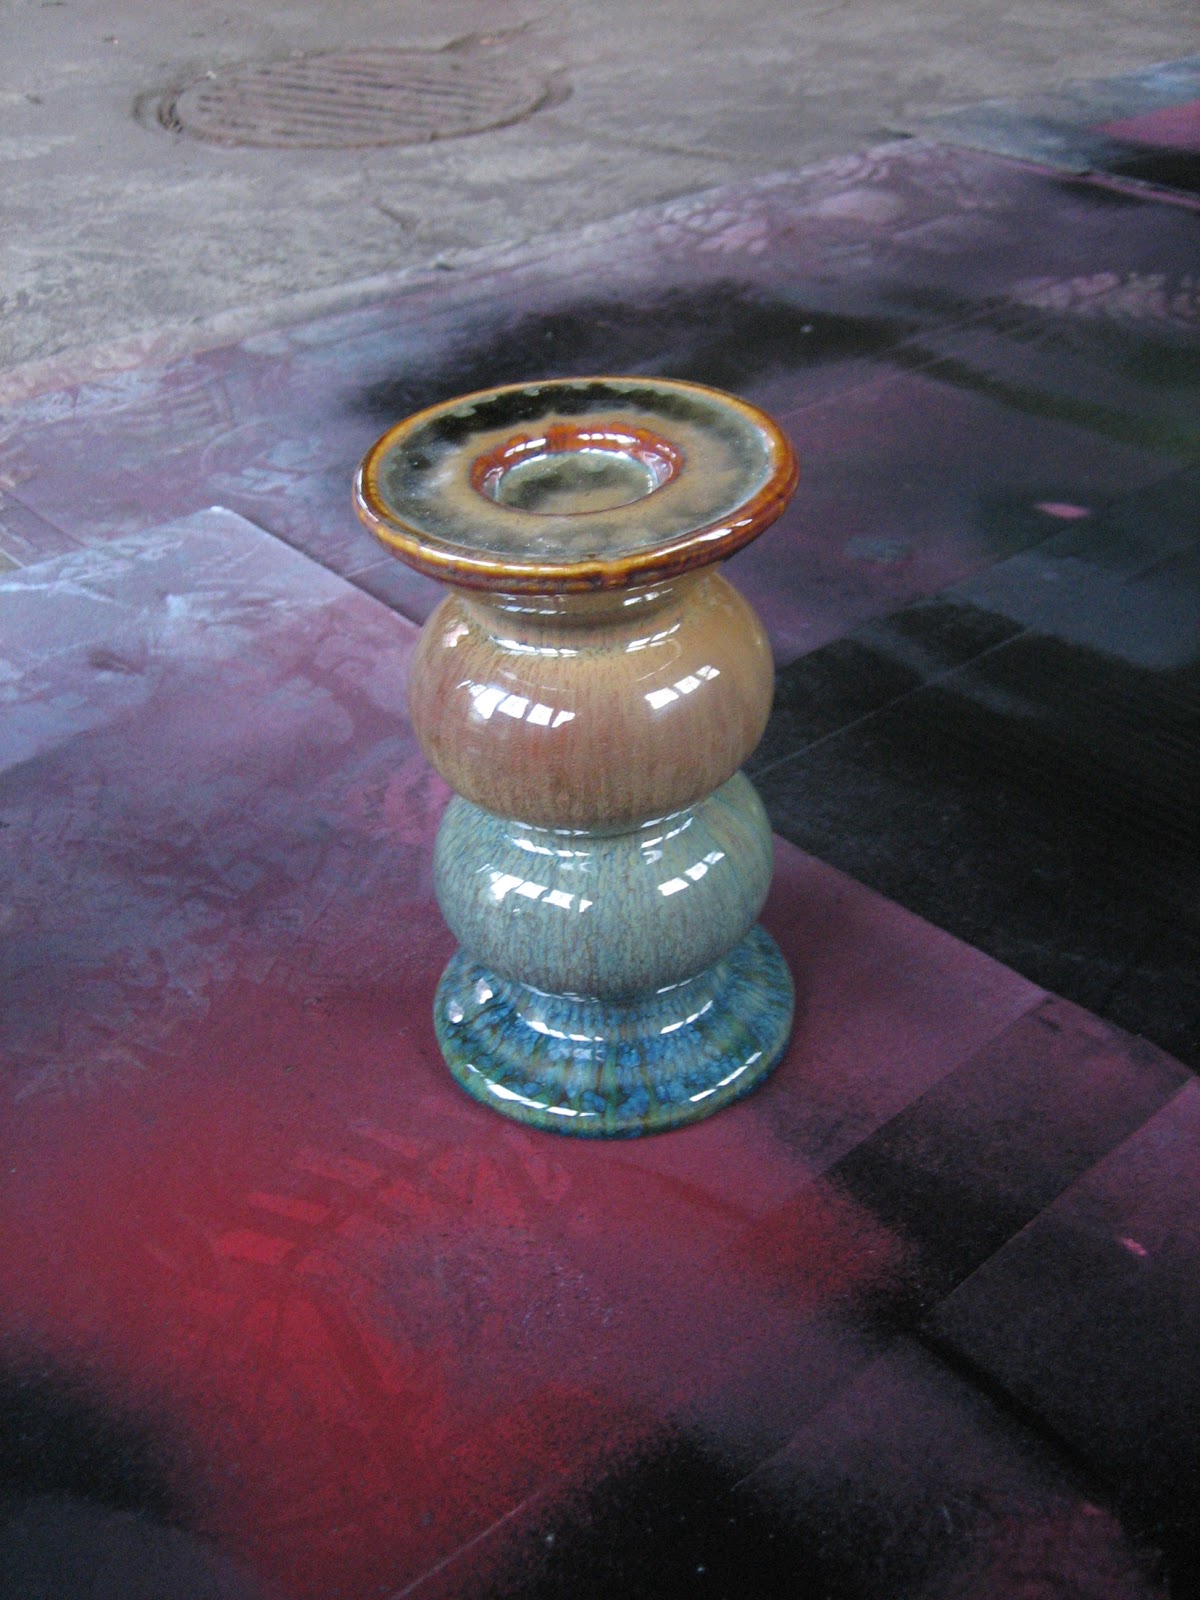
But sadly, these babies just weren't meant to be. After several coats of glossy spray (and no primer...although, I'm not sure that would have made a difference), these things were a disaster. They had drip marks & uneven coverage. You'll have to trust & use your imagination here, because I was too devestated by the results to take any "after" photos. Not to mention it was one day before said party & I hadn't a clue what my next step was going to be (aside from opening the garbage can & inserting stupid, disasterous looking candle holders...and then crying).

So I frantically drove myself to two separate Michaels (forgetting my coupons...but of course!) before locating these lovely wooden candle holders. I figured paint would take to the wood base of these much better than the stupid, glossy ceramic ones (which were taking up residency in the garbage can). Sorry, no can do on the before pics...we were t-minus 12 hours until go-time and I had to get my paint on! But here's what things looked like after 3 coats of glossy yellow paint...


Ah, much better! I went the easy route & attached the base to the plate with super glue. And after it dried, I realized a more temporary solution (possibly velcroe?) would have been a better idea. In the end, it was all a moot point, since the husband ripped the plate from it's base when tossing the old cupcakes into the garbage. And whoever said the husband doesn't have brute strength just doesn't know what they're talking about!

Anyway, I give to you the lovely after....


And with some party treats...


This project was so easy & something that can be used for a variety of entertaining needs. Sort of like tonight's book club that I'm hosting. Which means I've gotta bolt....I'm off to get my entertaining act in gear!

Happy hump!

Tuesday, September 6, 2011

A little this & that...the September edition

Ahhh...it's September. The husband declared today that he's not ready for fall. This was right after he declared that many others feel the same way (this is a bold statement not backed by fact, btw). Heellloooo, sir, I'm not alone when I say there are plenty of us who are ready for fall. Pumpin spice lattes! Scarves! Not sweating to the point where you think you'll die! I think what he meant to say was that he's sad summer is coming to an end. But after the hot, hot heat of this summer I say...bring it on fall! I'm soooo ready...

Anyhoo! We had a delightful weekend away at my in-law's cabin, but now it's back to reality and lots of fun projects...


I've scored some major deals & steals lately and have been working on some fun projects that I will share soon. Once the cooler weather strikes, I can't be stopped!

And who said no one's excited for fall?

Tuesday, June 7, 2011

Rewired

Remember these lamps I scored from the antique shop basement?


Two weekends ago they finally got a makeover. I liked the blue, but they were horribly finished by the shop owner (um, who paints lamps with a brush?!). First, I got to work pulling out the old wiring. The owner had cut the cords, but I would have rewired them anyway...these babies were old & unsafe! Next, I spray painted the gross gold top of the lamp (sorry kids...no before shots, you'll have to use your imagination)...


Much better! Now to prep for painting...


I went the predictable route, painting them white. I know, I know. At first, I toyed with the idea of red or yellow, but couldn't figure out how to draw the colors into the room. I admire rooms that are a mish-mash of color (and somehow seemlessly go together), but I knew painting the lamps these colors would mean I'd doubt my decision daily. And yes, I'm aware this is paint we're talking about here...oh the agony!


About 3/4 of the way through my project, I ran out of paint. On the way to the store, I had a change of heart. Does the blue spray paint in the background give you a clue what route I went?


In a strange twist of events, I was 100% happy with my decision. No looking back now! The husband on the other hand...not so much. I believe his response was, "are you sure?". Thankfully, doubting Thomas happily allows me to make most of the design decisions in our abode...so blue it is!

Next up? Time to rewire the lamps with the help of this easy step-by-step how to. The fabulous music & hip wallpaper may or may not have kept me interested, but in all honesty the video was uber easy for a novice rewiring gal like myself. Reading the directions on the packaging was like reading German (which I don't know), so this video allowed me to easily rewire 2 lamps without the assistance of the husband. Seriously, it was just too easy. GO ME.


At first I thought these Target shades were a little small for the size of the base, but they've definitely grown on me. At $14 a shade, they're much better than some of the larger drum pendants I found elsewhere for $42 each. Ouch! 


And I'll be sharing photos soon of what's become of all this fabulous fabric...so stay tuned!

Blog Design by Get Polished